
A medical vacuum pump is one of the few pieces of hospital equipment that supports patient care around the clock. It drives suction at operating tables, ICU bedsides, and emergency bays, so a weak installation in the mechanical room will eventually surface as a clinical problem on the ward. That is why the work is governed by strict rules: in the United States, NFPA 99 requires a finished medical vacuum system to pass formal verification before it can be placed into service, and most other markets apply similar hospital codes. Every step, from where the unit sits to how its exhaust leaves the building, has to be done deliberately.
This guide walks through the complete installation sequence for a hospital mechanical room: preparing the space, setting the equipment, running the piping, making the electrical connections, and commissioning the system. The clearances, piping rules, and code references below are the ones that inspectors and third-party verifiers actually check.
Step 1: Prepare the Mechanical Room
The room itself determines how reliably the system will run over its entire service life. Before any equipment arrives, confirm the following conditions:
- Environment. Choose a clean, dry, well-ventilated indoor space. Keep ambient temperature between 40 and 104 degrees F (roughly 5 to 40 degrees C) and avoid areas with excessive dust or airborne particulate, which shortens filter and pump life.
- Acoustics and location. Place the room away from wards and consultation areas, or add acoustic lining to walls. Medical vacuum pumps run continuously, and structure-borne noise is a common complaint after handover.
- Floor and anchoring. The floor must be flat, level, and rated for the operating weight of the package. Bolt the base through every mounting hole provided, and never let the base overhang a raised concrete pad. A method to drain away moisture, ideally a floor drain near the condensate drain point, is required.
- Service clearances. Allow at least 24 inches on all sides for ventilation and maintenance, 36 inches in front of the control panel to satisfy NEC working-space rules, and 36 inches above the unit.
- Proximity to the point of use. The closer the system sits to the departments it serves, the less working vacuum is lost to pressure drop in long pipe runs.
Step 2: Receive, Inspect, and Position the Equipment
Inspect the shipment the moment it arrives and note any carrier damage on the delivery receipt before signing, especially if the unit will sit in storage. Keep the protective covers on the inlet and discharge ports until the moment piping is connected; an open port is an invitation for debris to enter the pump.
Move the package with load-rated lifting equipment only. If the unit must be partially disassembled to pass through doorways or under low ceilings, label every electrical connection you remove so reassembly is error-free. Once in place, level the package, bolt it down, and remove all packing material before continuing.
Step 3: Install the Intake Piping
The patient-side piping is where most capacity problems are born. Follow these rules and the piping requirements of NFPA 99 or your local equivalent:
- Use approved materials. Seamless copper tubing, galvanized steel, or stainless steel are the standard corrosion-resistant choices. Ream every cut to remove burrs, and keep oil and grease out of the tubing during fabrication.
- Do not neck down the main line. Never reduce the main vacuum line below the size of the connection on the receiver, and increase the pipe size on long runs to control pressure drop. Undersized piping is the single most common cause of a system that cannot reach its rated capacity.
- Favor gentle geometry. Use long-radius elbows and as few turns as practical. Take branch connections from the top or side of the main line so condensed moisture cannot drain toward the pumps, slope all lines away from the pumps, and fit drain valves at any unavoidable low points.
- Give every pump its own isolation. Each pump should have an inlet filter and an isolation valve, so one pump can be serviced while the rest of the system keeps the hospital running.
Step 4: Route the Exhaust Outdoors
Medical vacuum exhaust must discharge outside the building in accordance with NFPA 99. Terminate the line well away from medical air intakes, doors, and operable windows, turn the outlet down, and fit a screen to keep out contamination. Install a flexible connector and a drip leg at each pump exhaust port before tying into the main exhaust line, and size that line using the manufacturer's chart, remembering to count every elbow as its equivalent length of straight pipe.
Step 5: Make the Electrical Connections
All power work belongs to a licensed electrician working to the NEC and any local codes. Three points deserve special attention:
- Feed the system from the emergency life support branch. Medical vacuum is a life-support utility and must keep running through a utility outage. Confirm that the generator supply matches the system requirements.
- Match the nameplate. Verify voltage, phase, and full-load amperage against the control panel nameplate before pulling wire, and size conductors for the peak load of all pumps running together.
- Re-tighten everything. Vibration during shipping loosens terminals, fuse inserts, and mechanical connections. Tighten all electrical connections before energizing, and on three-phase systems confirm correct motor rotation under both normal and generator power.
Step 6: Connect Controls, Alarms, and Monitoring
A multiplexed system earns its keep through its controls. Confirm that automatic lead-lag alternation works on a first-on, first-off basis so wear is shared evenly between pumps, and that the reserve pump starts automatically on high demand or a pump fault. Wire the local audible and visual alarms through their isolated contacts to the hospital's master alarm panels, and agree on the building-automation protocol, such as RS485 or Modbus, before startup day. Finally, set the vacuum setpoint and minimum run timers to match the facility's real demand profile rather than leaving factory defaults in place.
Step 7: Test, Verify, and Commission
Before the first start, check gearbox lubrication on oil-less designs, confirm pump rotation, make sure all guards are back in place, and clear tools and packing from the package. Start the system following the manufacturer's sequence, then leak-test the distribution piping and confirm adequate vacuum at the inlets furthest from the mechanical room.
The final gate is independent verification. Under NFPA 99, a qualified verifier must test the completed installation, including piping cross-connection, leak rate, alarm function, and vacuum levels at the outlets, before the system serves patients. Record baseline data such as vacuum trend, run hours, and alarm history, hand the as-built drawings and manuals to the facility team, and train the hospital technicians who will own the equipment. A properly commissioned vacuum pump system should disappear into the background of hospital life: quiet, stable, and boring in the best possible way.
Common Installation Mistakes to Avoid
- Undersizing the intake or exhaust piping and wondering why the system never reaches rated flow.
- Terminating the exhaust near a fresh-air intake and contaminating the hospital's supply air.
- Leaving out isolation valves, which turns every minor service job into a full system shutdown.
- Forgetting the floor drain, so condensate pools under the receiver.
- Ignoring altitude and sizing the system for sea-level performance.
- Powering the panel from a normal circuit instead of the life support branch.
Choosing Equipment That Makes Installation Easier
The smoothest installations start with a packaged system. A multiplexed medical vacuum pump system in duplex, triplex, or quadruplex configuration arrives pre-piped, pre-wired, and mounted on a common base or tank, with isolation valves, inlet filters, and the control panel already integrated. That removes most of the field-fabrication risk described above and shortens commissioning from weeks to days.
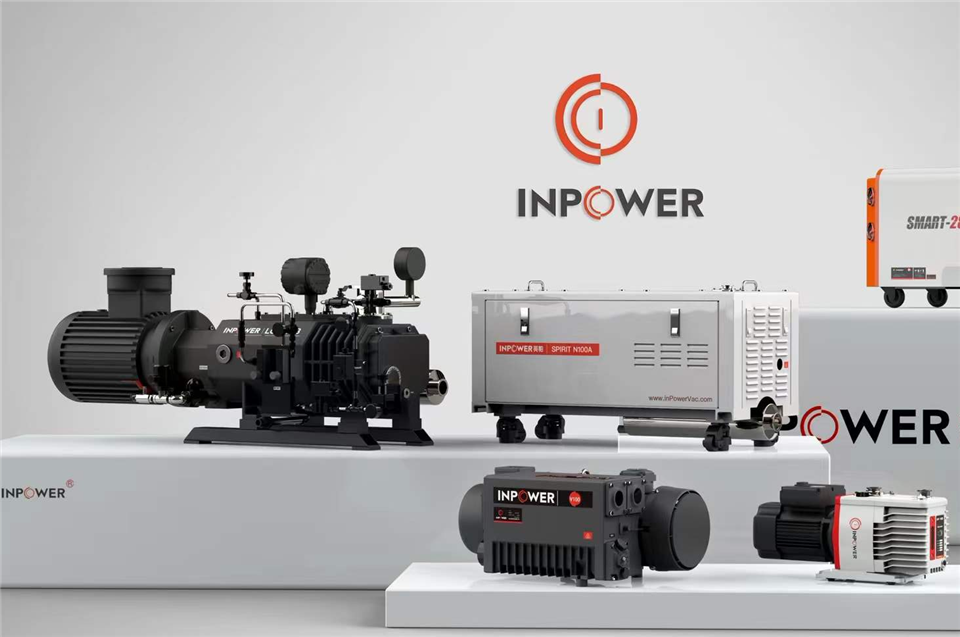
Oil-free technology simplifies things further. A medical gas vacuum pump built on dry screw or claw technology needs no sealing oil in the compression chamber, which cuts routine maintenance and removes any risk of oil carryover into the exhaust stream. InPowerVac, the vacuum equipment brand of Zhejiang Yingpa Electromechanical Co., Ltd, builds tank-mounted and multiplexed medical vacuum packages with imported bearings and shaft seals, air-cooled low-noise designs, and factory engineering support for special layouts. If you are planning a new mechanical room or replacing an aging unit, sharing your drawings and demand profile with the manufacturer early is the cheapest insurance you can buy.
Final Thoughts
Installing a hospital medical vacuum pump is a sequence, not an event: prepare the room, set and anchor the equipment, pipe the intake and exhaust correctly, wire it to the life support branch, prove the controls and alarms, and only then put it through verified commissioning. Get each step right and the system will deliver stable vacuum for decades with nothing more than routine filter and lubrication service. Get any step wrong, and the same mistakes will be revisited at far greater cost, in front of a far less patient audience.