
In semiconductor fabrication, a vacuum pump is supposed to remove particles from the process environment, not create them. So when particle counts in your chamber start climbing and the evidence points back to the pump, you are dealing with one of the most expensive failure modes in the fab: yield loss caused by the very equipment meant to protect it. Elevated particle generation usually has a small number of identifiable root causes, and a systematic troubleshooting sequence will find most of them in hours rather than days. This guide walks through that sequence, step by step, and explains when repair is realistic and when the pump technology itself is the problem.
Step 1: Confirm the Pump Is Actually the Source
Before opening anything, verify that particles are coming from the pump and not migrating from elsewhere in the foreline or exhaust. The most reliable method is a particle counter installed on the pump exhaust line. If particle counts on the exhaust side correlate with the contamination events in the chamber, the pump or the piping immediately around it is the likely source. If exhaust counts are clean, look instead at chamber hardware, wafer handling, or gas delivery components.
It is also worth checking whether particle spikes coincide with specific operating events: pump startup, load lock cycling, or a particular recipe step. Particles that appear only during startup often indicate loose deposits inside the pump being dislodged by the initial pressure surge, while a steady rise during long runs points toward progressive mechanical wear.
Step 2: Inspect for Internal Mechanical Wear
Mechanical wear is the most common internal source of pump-generated particles. Focus your inspection on the components most likely to shed material:
- Bearings: Degraded bearings release metallic particles and lubricant debris. Listen for abnormal noise, check vibration readings if your pump has sensors, and compare bearing temperature against the baseline in your maintenance log.
- Contacting elements: In pumps with contacting internals such as vanes or pistons, friction surfaces wear continuously. Inspect vanes for chipping and measure clearances against the manufacturer's tolerance.
- Shaft seals: A worn shaft seal can allow bearing grease to migrate into the pumping chamber, where it carbonizes and sheds particles.
If wear is confirmed, replace the affected components with genuine vacuum components and spare parts rather than generic substitutes, since dimensional accuracy and material hardness directly affect how quickly wear particles reappear.
Step 3: Check for Process Deposit Buildup and Flaking
Even a mechanically perfect pump will generate particles if process by-products have accumulated inside it. Deposition and etch processes send oxides, nitrides, and polymerized residues through the pump, where they cool, condense, and harden on rotors and chamber walls. When these deposits grow thick enough, thermal cycling and vibration cause them to flake off in sheets, producing sudden particle bursts.
Signs of deposit-related particle generation include a gradually rising pump operating temperature, increased motor current at constant load, and particles whose composition matches your process chemistry rather than pump materials. The fix is cleaning: either an in-situ cleaning procedure if the pump supports it, or a full disassembly and manual cleaning of the pumping stages. After cleaning, review your maintenance interval. If deposits reached flaking thickness before the scheduled service, the interval is too long for your process.
Step 4: Verify the Purge Gas System
A properly functioning nitrogen purge does two jobs: it dilutes corrosive and condensable gases, and it sweeps by-products through the pump before they can deposit. A purge system that is underperforming is a direct cause of deposit buildup, and therefore of particle generation. Check the following:
- Purge gas flow rate and supply pressure against the pump specification, at every purge port, not just the main inlet.
- Flow regulators and check valves for drift, blockage, or sticking.
- Nitrogen purity and dryness, since moisture in the purge gas can react with process gases to form corrosive acids that attack internal surfaces and generate particles of their own.
Step 5: For Oil-Sealed Pumps, Check Oil Condition and Filtration
If the affected pump is an oil-sealed model, degraded oil is a prime suspect. Oil that has been contaminated by process gases loses its lubricating and sealing properties, accelerating wear and producing carbonized particles. Drain a sample and check its color and viscosity; oil that is dark, cloudy, or smells burnt should be replaced immediately, along with the oil filter.
Also inspect the exhaust oil mist filter. A saturated or damaged mist filter allows oil droplets and vapor to travel both downstream into the exhaust and, under some pressure conditions, back upstream toward the process chamber. Replacing mist filters on schedule is one of the cheapest particle-control measures available.
Step 6: Review Operating Temperature and Condensation
Pump temperature sits at the center of particle control. Running too cold lets condensable by-products deposit inside the pump; running too hot degrades lubricants and accelerates wear. Verify that cooling water flow and temperature are within specification on water-cooled models, and that airflow around air-cooled units is unobstructed. Where the pump and exhaust lines handle condensable gases, trace heating should keep surfaces above the condensation point from the pump outlet all the way to the abatement system.
When the Pump Design Itself Is the Problem
Sometimes troubleshooting confirms that the pump is healthy and correctly maintained, yet particle levels remain unacceptable for a sensitive process. In that case, the pump technology is the limiting factor. Pumps with contacting internals generate wear particles by design, and oil-sealed pumps always carry some backstreaming risk, no matter how carefully they are serviced.
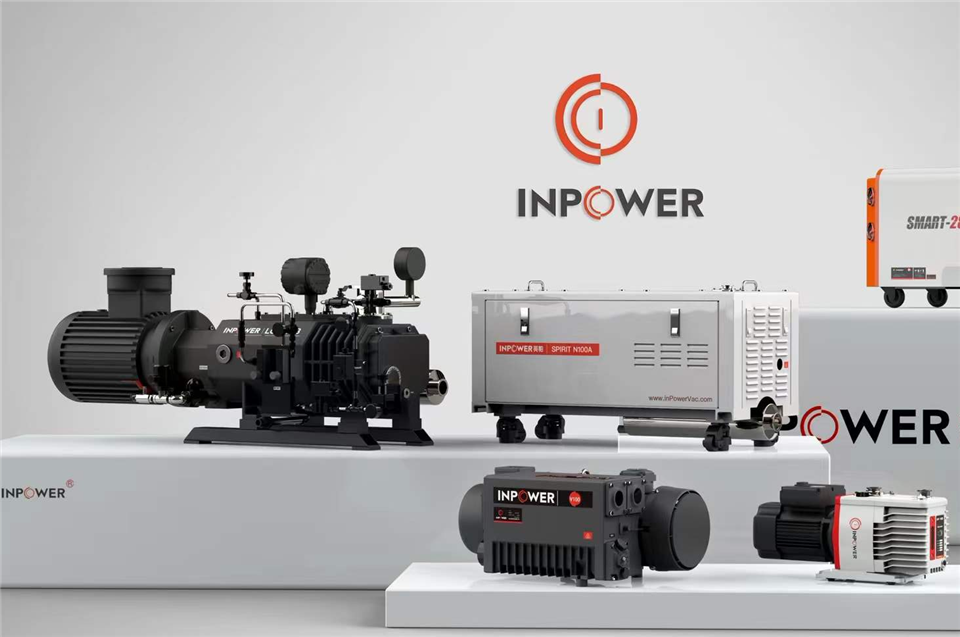
This is where non-contacting dry screw vacuum pump technology earns its place. With synchronized screw rotors that never touch, there is no internal friction surface to generate wear particles, and with no oil in the pumping chamber there is no hydrocarbon contamination path at all. InPowerVac manufactures dry screw pumps specifically for semiconductor duty, including corrosion-resistant and titanium-alloy variants for aggressive chemistries, backed by 32 Mazak machining centers dedicated to screw rotor production and full vacuum testing facilities. For fabs fighting a persistent particle problem, upgrading the pump is often cheaper than the yield it protects.
Preventing Recurrence
Once the immediate cause is fixed, lock in the gains with a few ongoing practices. Keep a particle counter on the exhaust line permanently and trend the data, so rising counts trigger maintenance before wafers are affected. Log pump temperature, vibration, and motor current at every shift or through the pump controller, since these parameters drift weeks before visible failure. Finally, match service intervals to your actual process chemistry rather than the generic schedule, because deposit-driven particle problems are always process-specific.
High particle generation is rarely a mystery once you approach it in sequence: confirm the source, inspect for wear, check deposits, verify the purge, review oil and temperature, and only then consider whether the pump technology needs to change. If you are evaluating a replacement or need application advice for a semiconductor process, the InPowerVac engineering team can help you select a dry vacuum pump matched to your gas load and cleanliness requirements.