
Few things stop a production line faster than a vacuum pump that suddenly refuses to pull vacuum. Packaging stalls, coating chambers sit idle, and every minute of troubleshooting eats into output. The good news: a rotary vane pump vacuum failure almost always traces back to a handful of well-understood causes, and most of them can be diagnosed on the shop floor with basic tools.
This guide walks through the two symptoms maintenance teams report most often — a pump that will not pump at all, and a pump that runs but cannot reach its ultimate pressure — then gives you a systematic diagnostic sequence and a prevention plan to keep the problem from coming back.
First, a 60-Second Refresher on How the Pump Builds Vacuum
Inside an oil sealed rotary vane vacuum pump, a rotor sits eccentrically inside a cylindrical stator. Spring-loaded vanes slide in and out of the rotor slots, pressed against the stator wall by centrifugal force. As the rotor turns, the chamber between two vanes expands at the inlet — drawing gas in — then shrinks at the outlet, compressing the gas and pushing it through the exhaust valve.
The oil in the pump does three jobs at once: it seals the tiny clearances between vanes and stator, lubricates the moving parts, and helps carry heat away. This is why so many vacuum problems come back to vanes, seals, or oil — and why the troubleshooting steps below focus on exactly those areas.
Symptom 1: The Pump Runs but Won't Pump at All
If the motor is running and the gauge shows no vacuum building, work through these causes in order — they go from cheapest to check to most involved:
- Wrong motor rotation. After any electrical work, a three-phase motor wired in reverse will spin the rotor backwards and the pump simply will not draw gas. Check the rotation arrow on the housing first — this takes one minute and costs nothing.
- Blocked inlet. A clogged inlet screen, a closed isolation valve, or debris sucked into the suction line starves the pump of gas. Inspect the inlet path and clean or clear it.
- Damaged shaft seal or gaskets. Rotary vane pumps rely on oil seals and gaskets to keep the pumped gas from leaking back. A worn shaft seal lets air stream in as fast as the pump removes it. Inspect for oil weeping around the shaft — it is usually the visible signature of a failed seal — and replace the seal kit.
- Worn or broken vanes. Vanes are consumables. When they wear past their service limit or crack, they can no longer seal the pumping chamber, and pumping speed collapses. Pull the rotor, measure vane height against the manufacturer's minimum, and fit genuine vacuum pump spares rather than unverified copies.
- Coupling or belt failure. On belt-driven and flex-coupled designs, the motor can spin happily while the rotor stands still. Confirm the rotor actually turns when the motor does.
Symptom 2: The Pump Pulls Vacuum but Can't Reach Ultimate Pressure
This is the more common — and more frustrating — complaint. The pump clearly does something, but the gauge stalls well above the specified ultimate vacuum. The usual suspects:
- Low or contaminated oil. Too little oil breaks the sealing film; oil loaded with water, solvents, or process vapors outgasses and raises the achievable floor pressure. Check the sight glass, then drain a sample. Milky oil means water contamination — change the oil, run the pump with the gas ballast open to purge residual moisture, and re-test. Using the correct grade of vacuum pump oil matters more than most teams expect: the wrong viscosity or vapor pressure spec will cap your ultimate vacuum no matter how healthy the mechanics are.
- Gas ballast left open. The gas ballast is designed to be open during warm-up or when pumping condensable vapors — but a ballast valve left open permanently will hold the pump off its best ultimate pressure. Close it once the pump is up to temperature and the vapor load is cleared.
- Clogged exhaust or oil mist filter. A saturated oil mist filter on the exhaust creates back-pressure that the pump has to fight, and internal oil-return lines can block with sludge. If exhaust filters have not been changed in living memory, start there.
- A real leak in the system. Sometimes the pump is fine and the chamber is the problem. Isolate the pump from the system with a valve and blank the inlet: if the pump reaches its rated ultimate pressure on its own, your leak is downstream in the piping, fittings, or chamber seals.
- Worn internal clearances. After years of service, wear on vanes, rotor, and stator opens up internal leakage paths. If oil changes and seal replacements no longer restore performance, the pump is telling you it needs an overhaul or replacement.
Quick check: the pressure-rise test
Pump the system down, close the isolation valve, and watch the gauge. Pressure that climbs steadily afterward indicates a real leak (gas entering from outside); pressure that rises and then levels off points to outgassing or virtual leaks inside the chamber. This one test separates "pump problem" from "system problem" in under ten minutes.
A Systematic 10-Minute Diagnostic Sequence
Random part-swapping wastes time. Run this sequence instead:
- Minute 1–2: Confirm motor rotation direction and that the rotor actually turns.
- Minute 2–4: Check oil level and oil condition in the sight glass; top up or drain-and-replace as needed.
- Minute 4–6: Verify the gas ballast position and inspect the inlet line and screen for blockage.
- Minute 6–8: Isolate the pump and blank the inlet. If it reaches its specified ultimate vacuum alone, the fault is in your system, not the pump.
- Minute 8–10: If the pump fails the blank-off test, inspect shaft seals, exhaust filters, and finally the vanes.
Most no-vacuum and low-pressure complaints are resolved within the first three steps. The later steps tell you definitively whether you are dealing with a consumable swap or an overhaul.
Prevention Beats Repair: A Simple Maintenance Rhythm
Emergency repairs cost more than scheduled care — in parts, in overtime, and in lost production. A basic rhythm keeps a rotary vane pump healthy for years:
| Interval | Task | What It Prevents |
|---|---|---|
| Daily | Check oil level and color; listen for unusual noise; feel for abnormal housing temperature | Catches oil loss, contamination, and bearing wear before they cascade |
| Weekly | Run with gas ballast open to purge condensed vapors; inspect for oil weep at seals | Prevents water/solvent buildup in the oil and early seal failure |
| Monthly | Check exhaust mist filter condition; verify ultimate pressure against baseline | Spots back-pressure and gradual performance drift early |
| Per manufacturer schedule | Full oil change; inspect vanes and seals; replace wear parts with genuine spares | Restores factory clearances and keeps ultimate vacuum on spec |
Keep a log of ultimate-pressure readings. A slow upward creep over months is the earliest and cheapest warning you will ever get.
When the Pump Itself Is the Problem
Sometimes the honest answer is that the pump has reached the end of its economic life — or was never built to handle your process in the first place. This is where design details at the factory level decide how often you will be doing the troubleshooting above.
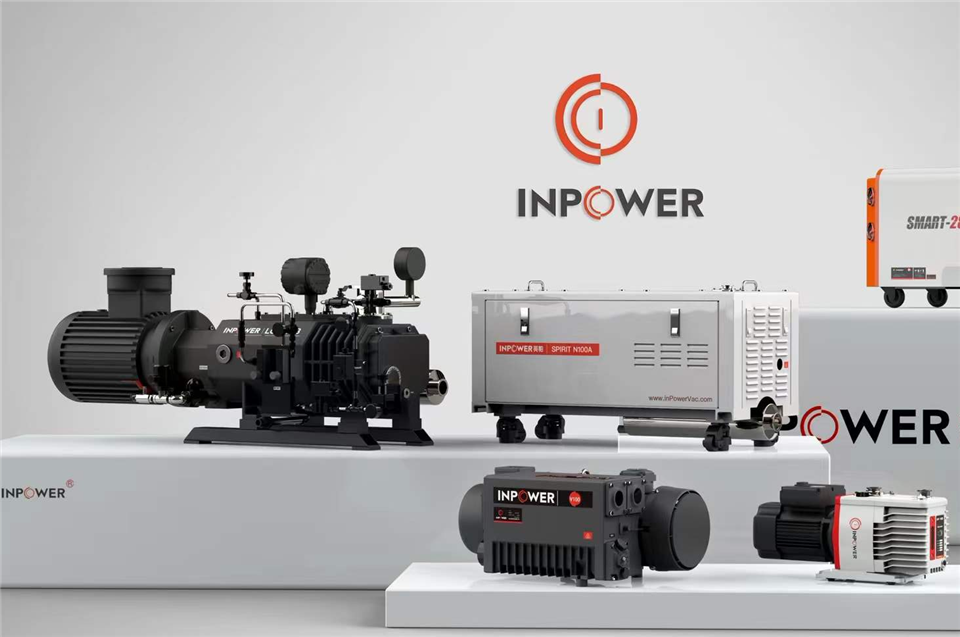
InPowerVac (Zhejiang Yingpa Electromechanical Co., Ltd) has specialized in vacuum equipment since 2000, and its oil-sealed rotary vane line is engineered specifically around the failure points covered in this guide. Imported bearings and oil seals address the shaft-seal leakage path. An anti-backflow oil design protects the vacuum chamber from oil suck-back at shutdown. British oil mist filter technology keeps exhaust back-pressure low and the working environment clean. The single stage rotary vane pump series covers pumping speeds from 4 to 1,200 m³/h (50 Hz) with an ultimate vacuum of 20 Pa or better, across models V004 through V1200 — so there is a correctly sized unit rather than an overworked one, which is itself a common root cause of premature vane wear.
For deeper vacuum duties, two-stage models extend the range, and every pump is backed by a full line of genuine consumables — vanes, seals, oil, and filters — so maintenance teams are never stuck making do with near-fit parts. When comparing rotary vane vacuum pump manufacturers, it is worth asking each one three questions: What bearings and seals go into the pump? What genuine spare parts are stocked? And what ultimate vacuum will the pump still hold after a year in your process — not just on the test bench?
Talk to an engineer, not a call center. Whether you need help diagnosing a pump that has lost vacuum, want genuine spares for an overdue overhaul, or are specifying a new oil sealed rotary vane vacuum pump for a production line, the InPowerVac team is ready to help. Contact Winnie at Winnie@inpowervac.com or call +86 13858602188 with your process parameters — working pressure, chamber volume, gas load — and get a correctly sized recommendation instead of a guess.