
A vacuum pump rarely breaks down without warning. In most plants, the failure that stops a production line on a Tuesday afternoon started weeks earlier as degraded oil, a clogged filter, or a loose fitting that nobody checked. Daily walk-around inspections catch obvious problems, but it is the monthly routine — roughly an hour of focused work — that catches the slow, hidden wear before it turns into unplanned downtime. This article explains exactly what a monthly vacuum pump maintenance routine should cover, how to adapt it to your pump type, and which warning signs mean you need more than routine service.
Why a Monthly Routine Matters
Daily checks are quick by nature: glance at the oil sight glass, listen for abnormal noise, confirm the gauge reading. They tell you whether the pump is running, but not how well it is aging. The monthly routine sits between these daily spot checks and the annual overhaul, and it serves three purposes:
- Consumable renewal. Oil and filters degrade on a calendar-and-hours basis, not on a breakdown basis. Replacing them on schedule is far cheaper than replacing a scored rotor.
- Performance verification. A pump can sound perfectly normal while its ultimate vacuum slowly drifts upward. Only a monthly measurement against the rated specification reveals that drift.
- Mechanical integrity. Vibration loosens bolts, belts stretch, and seals age. A monthly pass with basic hand tools keeps the machine mechanically sound.
Before You Start: Safety and Preparation
Treat the monthly service as a planned shutdown, not an afterthought. Isolate the pump electrically and apply lockout/tagout so it cannot restart while your hands are inside the guard. If the pump has been running, give it time to cool — oil in an oil-sealed pump gets hot enough to burn skin. Prepare everything before you open anything: the correct grade of vacuum pump oil, replacement filter elements, a drain pan, lint-free wipes, and the maintenance log. A ten-minute job that turns into a two-hour search for the right oil is a ten-minute job done badly.
The Monthly Checklist, Step by Step
1. Inspect the oil — and change it when it tells you to
For oil-lubricated pumps, this is the single most important item on the list. Check the level at the sight glass with the pump stopped; it should sit near the midpoint. Then look at the oil itself. Clear, amber oil is healthy. Milky or grey oil means water or process vapors have condensed into it. Dark, thin oil that smells burnt is overdue for replacement. When in doubt, change it: warm the pump for ten to fifteen minutes so the oil flows freely, drain it completely through the drain plug, and refill with the manufacturer-recommended grade to the sight-glass mark. On pumps in heavy or continuous duty, plan on a full oil change every month regardless of appearance.
2. Check the oil mist (exhaust) filter
A saturated exhaust filter creates back pressure inside the pump, which forces oil out through the exhaust and raises operating temperature. If you see oil smoke or mist at the exhaust, or a film of oil around the outlet, the filter needs replacement. Do not clean and reuse a clogged mist filter — the trapped contaminants will release into the pump.
3. Clean or replace the inlet filter
A clogged inlet filter starves the pump. Pumping speed falls, the motor works harder, and temperatures climb. Remove the element, tap out loose dust or blow it clean with low-pressure air from the inside out, and replace it if the media is damaged or heavily loaded. In dusty environments — woodworking, powder handling, packaging — inspect it more often than monthly.
4. Clean the exterior, cooling fins, and fan cover
Vacuum pumps reject a surprising amount of heat through their surfaces. Dust and grime on cooling fins act as insulation, and a blocked fan guard restricts airflow. Wipe the pump down and clear the fins and guards. This takes five minutes and directly protects the oil from thermal degradation.
5. Tighten bolts, fittings, and connections
Vibration loosens fasteners over time. Check the mounting bolts, pipe unions, and hose clamps, and confirm electrical terminals are snug. While you are there, inspect hoses for cracking and fittings for oil weeping — a small seep today is a leak next month.
6. Inspect the drive belt or coupling
On belt-driven pumps, check belt tension and look for glazing, cracking, or fraying. A slipping belt reduces pumping speed and generates heat. On direct-drive units, inspect the coupling element for wear or rubber dust beneath the guard — early signs of misalignment.
7. Purge the pump with the gas ballast
If your process contains condensable vapors, run the pump with the gas ballast valve open for twenty to thirty minutes during the monthly service. The ballast admits dry air into the compression stage and sweeps condensed moisture out with the exhaust. It is a simple step that dramatically extends oil life in humid applications.
8. Measure the blank-off (ultimate) vacuum
Isolate the pump from the process, let it reach operating temperature, and measure the ultimate pressure at the inlet. Compare the reading with the pump's rated specification — a quality oil sealed rotary vane vacuum pump, for example, should hold an ultimate vacuum in the low tens of pascals or better, depending on the model. Record the value every month. The trend matters more than any single reading: a slow month-over-month rise points to worn vanes or degraded oil, while a sudden jump points to a leak.
9. Run a quick leak check
If the blank-off vacuum is healthy but process vacuum is poor, the leak is in the system, not the pump. A simple rate-of-rise test — pump down, isolate, and watch how fast the gauge climbs — tells you whether the problem is real leakage or outgassing. Focus attention on shaft seals, flange joints, and any fitting that showed oil traces during the tightening pass.
10. Update the maintenance log
Write down the date, running hours, oil condition, parts replaced, and the measured ultimate vacuum. A one-line entry per month builds a history that turns troubleshooting from guesswork into pattern recognition, and it tells you exactly when consumables are next due.
Adapt the Routine to Your Pump Type
The checklist above is built around oil-sealed machines, because they dominate general industrial duty. Other technologies shift the emphasis:
- Oil-sealed rotary vane pumps: Oil condition, the mist filter, and vane wear are the priorities. Pumps built with imported bearings and oil seals and an anti-backflow oil design keep this routine simple and infrequent.
- Dry screw vacuum pumps: There is no oil in the compression chamber, so the monthly focus moves to gear-box lubricant level, cooling water flow and temperature on water-cooled models, purge cycles, and bearing noise. A well-engineered dry screw vacuum pump rewards this lighter routine with long service intervals.
- Roots (booster) pumps: Check the oil level in the gear housings at both ends, verify coupling condition, and listen carefully at start-up — any contact noise between the rotors means the clearances need professional attention, not another month of running.
Warning Signs That Need More Than Routine Service
Some findings during the monthly check mean you should stop and escalate rather than simply replace a filter:
- Metal particles or glitter in the drained oil — internal wear is already underway.
- Oil that turns milky again within days of a change — the process is dumping moisture into the pump faster than the gas ballast can purge it.
- Ultimate vacuum that no longer reaches the rated value after an oil and filter change — vanes, seals, or clearances are worn.
- New noise, knocking, or vibration that appeared since the last check — suspect bearings or coupling failure.
The Bottom Line
A monthly vacuum pump maintenance routine is not complicated: fresh oil when it degrades, clean filters at both ends, tight fasteners, a verified ultimate vacuum, and a written record. One focused hour a month protects pumping speed, process quality, and the service life of a machine that costs far more to replace than to maintain.
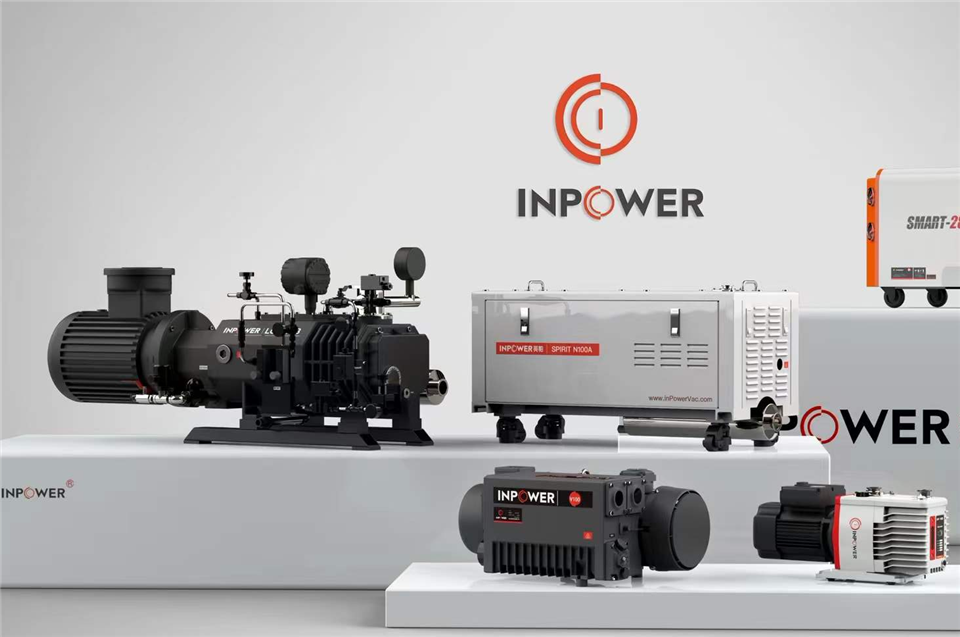
InPowerVac — the vacuum equipment brand of Zhejiang Yingpa Electromechanical Co., Ltd — designs its rotary vane, dry screw, and Roots pumps for exactly this kind of economical ownership: imported bearings and oil seals for reliability, low oil mist through British oil mist filter technology, and long replacement cycles for consumables. Genuine vanes, oils, filters, and spare parts are available directly from the factory. If you need maintenance guidance for a specific model or a reliable supply of consumables, contact the InPowerVac team — we support every pump we build.