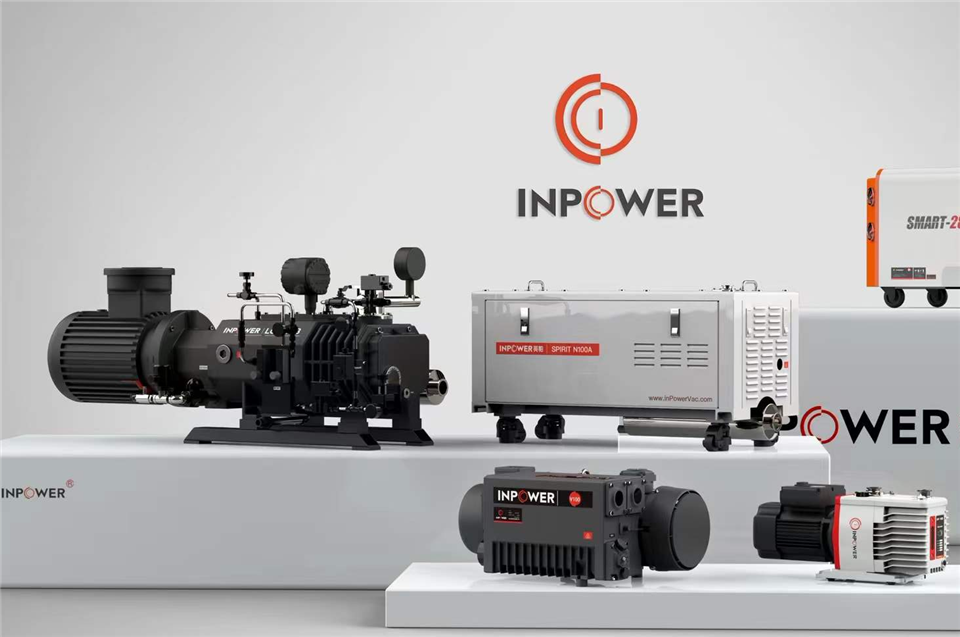

A dry screw vacuum pump is built to run for years with no oil in the pumping chamber, but it is not a maintenance-free machine. Process dust, condensable vapors, bearing wear, and seal aging all take their toll over time. When performance starts to drop, operators often ask the same question: what exactly does vacuum pump repair for a dry screw pump involve, and when is it worth doing? This article answers that question in practical terms, covering the warning signs, the typical repair process, and how to decide between repairing and replacing.
What Does Vacuum Pump Repair Mean for Dry Screw Pumps?
For a dry screw pump, repair means restoring the pump to its specified pumping speed and ultimate pressure by correcting the mechanical wear and contamination that accumulate during operation. Unlike a simple filter change or oil top-up on an oil-sealed pump, a true repair goes inside the machine. It typically involves opening the pump housing, cleaning the screw rotors and the pumping chamber, replacing worn bearings, gears, and shaft seals, and then re-setting the precise rotor clearances that make a dry screw pump work.
This last point is what separates professional repair from a basic clean-up. The two screw rotors rotate in opposite directions without touching each other or the housing. The gap is extremely small, and it is this gap that determines compression efficiency. Any repair that does not measure and re-adjust these clearances is only half a job, because the pump will still run below its original performance even if it looks clean.
Warning Signs That Your Dry Screw Pump Needs Repair
Dry screw pumps rarely fail suddenly. They give clear signals first, and catching these signals early is the difference between a straightforward repair and a damaged rotor set. Watch for the following symptoms:
- Falling vacuum level. The pump takes longer to reach the same pressure, or can no longer reach it at all. The most common cause is deposit build-up on the rotors or in the gas path, which narrows the internal clearances and chokes the flow.
- Rising noise or vibration. Worn bearings, gear wear, or rotor contact caused by heavy deposits all produce abnormal sound and vibration. A pump that suddenly sounds different should be stopped and inspected, not left running.
- Higher operating temperature. Insufficient cooling water flow, degraded bearing lubricant, or increased internal friction will push temperatures up. Persistent overheating accelerates every other form of wear.
- Increased power consumption. When the motor draws more current for the same duty, the rotors are usually working against deposits or mechanical drag.
- Rotor lock-up at start-up. If the pump has been shut down without a proper purge, solidified process residues can block the rotors. Forcing a start in this condition can destroy the rotor coating or the rotors themselves.
What a Professional Repair Process Looks Like
A structured repair for a dry screw pump follows a clear sequence. Understanding it helps you evaluate whether a service provider is actually qualified.
1. Diagnosis Before Disassembly
A good repair starts with data: vacuum level records, temperature trends, current draw, and a description of the process gas. This tells the technician what to expect inside the pump before a single bolt is removed, and it prevents unnecessary disassembly when the real problem is a clogged inlet filter or a cooling water issue.
2. Disassembly and Cleaning
The pump is opened and the rotors, chamber, and gas passages are cleaned of carbon build-up, polymer residues, and process deposits. The correct cleaning method depends on the deposit chemistry and on any rotor coating, which is why manufacturer guidance matters here. Aggressive methods that strip coatings create bigger problems than the ones they solve.
3. Inspection and Parts Replacement
Bearings, timing gears, shaft seals, and O-rings are wear items and are normally replaced as a set during a major repair. Rotors are measured for wear and coating damage. Using genuine, dimensionally correct vacuum pump spares is critical at this stage, because even small dimensional deviations change the rotor clearances.
4. Clearance Adjustment and Reassembly
The rotor-to-rotor and rotor-to-housing clearances are measured and set back to specification during reassembly. The pump-motor alignment is checked at the same time to avoid vibration and premature bearing failure after the repair.
5. Performance Testing
A repaired pump should be tested for ultimate pressure, pumping speed, temperature, noise, and power consumption before it goes back into service. A repair without a documented test is a gamble.
Repair or Replace: How to Decide
Not every pump deserves a repair. A practical decision usually weighs three factors. First, the condition of the rotors: if the rotors are heavily worn, corroded, or their coating is badly damaged, the repair cost climbs fast because the core of the pump is affected. Second, the repair history: a pump that has already been repaired several times for the same recurring process problem may keep failing until the process itself is fixed, for example with better inlet filtration or a proper shutdown purge routine. Third, downtime: for critical production lines in lithium battery, semiconductor, or chemical plants, keeping a serviced spare pump on site and rotating units through repair is often cheaper than an emergency stop.
As a rule of thumb, if the repair quote approaches the price of a new pump and the rotors need replacement, replacement deserves serious consideration. If the rotors are sound and the repair is mainly bearings, seals, and cleaning, repair is usually the economical choice.
How to Reduce Future Repairs
The cheapest repair is the one you never need. A few habits dramatically extend the interval between major services: purge the pump with dry nitrogen before shutdown when handling condensable or dusty gases; keep inlet filters clean and replace them on schedule; monitor vacuum level, temperature, and current so trends are visible weeks before failure; and follow the lubricant change intervals for the bearing and gear side, even though the pumping chamber itself is oil-free. Cooling also matters more than many users expect, so whether you run an air-cooled model or a water cooled vacuum pump, verify flow and temperature regularly with simple checks.
Conclusion
Vacuum pump repair for dry screw pumps is a precise, structured job: diagnose, disassemble, clean, replace wear parts, re-set rotor clearances, and test. Done properly, it restores the pump to its original performance at a fraction of the cost of a new machine. Done carelessly, it only delays the next failure.
InPowerVac, the vacuum equipment brand of Zhejiang Yingpa Electromechanical Co., Ltd, has manufactured dry screw vacuum pumps since 2000 and operates 32 Mazak machining centers dedicated to screw rotor production, backed by vacuum testing rooms and dynamic balance laboratories. If your dry screw pump is showing any of the warning signs above, contact our team for a professional assessment, genuine spare parts, and a repair or replacement plan that fits your process.