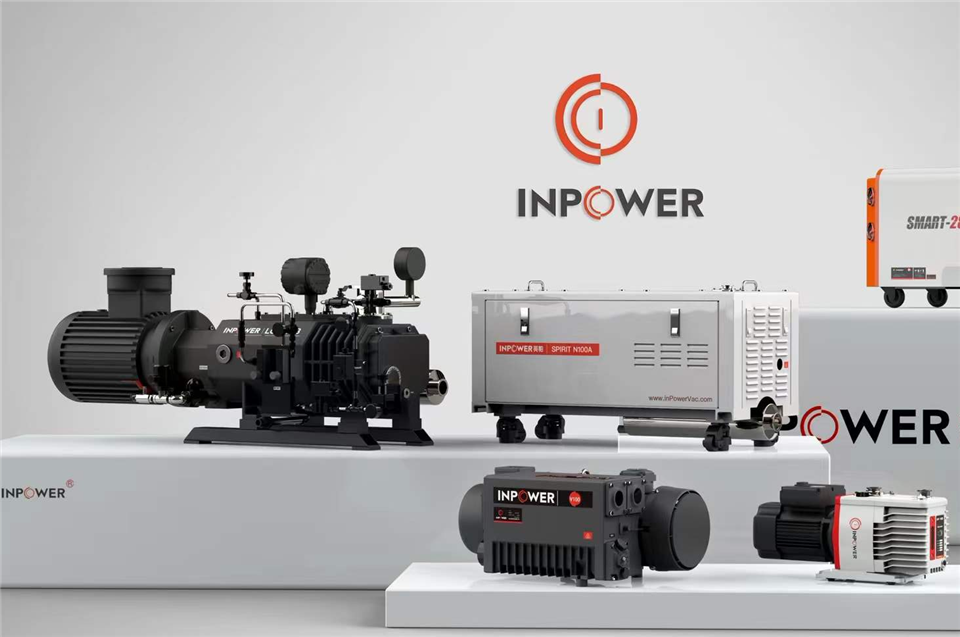

If your vacuum system suddenly loses pumping speed, runs hotter than usual, or starts making a metallic knocking sound, there is a good chance the roots vacuum pump at the heart of the system needs attention. But what does "vacuum pump repair" actually mean when it comes to Roots pumps? Unlike a simple oil change or filter swap, repairing a Roots pump is a structured process of diagnosing the fault, restoring internal clearances, replacing worn components, and verifying performance before the pump goes back into service.
This guide explains what Roots pump repair involves, which warning signs to watch for, what a proper repair process looks like step by step, and how to decide between repairing and replacing the pump.
Why Roots Pump Repair Is a Specialist Job
A Roots pump — sometimes called a Roots blower or mechanical booster — moves gas with a pair of figure-eight-shaped rotors that rotate in opposite directions inside a housing. The rotors never touch each other or the housing; they are synchronized by a pair of precision timing gears, and the gaps between them are measured in hundredths of a millimeter. Because Roots pumps have no internal compression, they normally work together with a backing pump such as a rotary vane or dry screw pump.
Those tiny clearances are exactly what makes repair work demanding. Dirt deposits, thermal expansion, worn bearings, or mechanical strain from misaligned piping can all narrow the gaps until rotors scrape against the housing or collide with each other. Once that happens, running the pump even briefly can turn a repairable fault into a destroyed rotor set. This is why Roots pump repair focuses so heavily on measuring and restoring clearances, not just swapping parts.
Warning Signs That a Roots Pump Needs Repair
Most Roots pump failures announce themselves well before a complete breakdown. Recognizing these symptoms early is the cheapest form of repair there is:
1. The pump runs too hot
Overheating usually points to one of four causes: overloading from an excessive pressure difference between inlet and outlet, clearances narrowed by dirt or mechanical strain, contaminated or worn bearings creating friction, or an incorrect oil level or oil grade. Many industrial Roots pumps specify a maximum operating temperature somewhere in the 100–115 °C range — check the manual for your specific model and treat anything above it as a stop-and-inspect signal.
2. Abnormal running noise
A healthy Roots pump produces a steady hum. Rattling, knocking, or scraping sounds indicate dirt or residue on the rotors, damaged bearings or timing gears, or rotors actually touching the housing. Rotor contact is the most serious of these — shut the pump down immediately, because every additional minute of running grinds metal off the rotor profiles.
3. Excessive power consumption
Anything that increases internal friction or compression load also increases the current drawn by the motor. If the pump is pulling more power than its rating plate suggests while delivering the same vacuum, something inside is working harder than it should. If power draw is high but the pump body is not hot, suspect the motor itself rather than the pumping mechanism.
4. Oil in the pumping chamber
Oil where it should not be usually means the oil level in the gear housing was too high, the oil has been contaminated by the process gas and is foaming, or air is leaking in through a drain plug or shaft seal and carrying oil mist into the chamber. Shaft seal wear is a common culprit on pumps that have been in service for years.
5. Slow pump-down or poor ultimate vacuum
When a Roots pump takes noticeably longer to reach its normal operating pressure, internal clearances have often grown too large through wear, letting gas backflow through the gaps. This is the mirror image of the scraping problem — instead of clearances shrinking until parts touch, they have widened until the pump loses efficiency.
What a Proper Roots Pump Repair Process Looks Like
Whether the work is done in-house or by a service center, a professional Roots pump repair follows a consistent sequence:
Step 1: Diagnosis before disassembly
A good technician starts by documenting the symptoms: operating temperature, motor current, vibration levels, and noise character. Checking the oil for metal particles or emulsification tells you a lot about bearing condition before a single bolt is loosened. This diagnosis determines whether the pump needs a simple cleaning and oil service or a full strip-down.
Step 2: Cleaning the pumping chamber
Dust and process deposits form a crust on the rotors and housing walls that narrows clearances and throws rotors out of balance. With the inlet and outlet pipes removed, loose deposits can be blown out with dry compressed air or dissolved with a suitable cleaning solvent. Stubborn residue can be removed mechanically with a brush or scraper. One rule is absolute during cleaning: rotors may only be turned by hand, never by the motor, because dislodged debris at full speed will damage the profiles. After cleaning, slowly rotate the rotors by hand — there should be no resistance at any point in the rotation.
Step 3: Measuring and restoring clearances
This is the heart of Roots pump repair. Using feeler gauges or a dial indicator, the technician checks rotor-to-rotor clearances, rotor-to-housing clearances, and axial clearances against the manufacturer's specifications. Clearances are restored by adjusting the timing gear position and the bearing seats. Skipping this step — or doing it by guesswork — is the single most common reason a "repaired" pump fails again within weeks.
Step 4: Replacing bearings, gears, and seals
Bearings and shaft seals are wear items and are normally replaced as a set during any major repair, along with the timing gears if they show backlash or tooth damage. Where the shaft itself is worn at the bearing seats, traditional repair welding risks distorting the shaft through heat stress. Modern repair practice often uses polymer composite materials to rebuild worn bearing positions without thermal damage, restoring the fit between shaft and bearing. For shafts that are bent or severely scored, replacement is the safer choice.
Step 5: Fresh lubrication
Reassembled pumps are filled with the correct grade of gear oil to the specified level — neither too high, which causes the gears to churn the oil and generate heat, nor too low, which starves the bearings. As a maintenance baseline, many manufacturers recommend a first oil change after roughly 500 operating hours to flush out run-in wear particles, then changes about every 3,000 hours under clean conditions, and more often when pumping dusty or corrosive gases.
Step 6: Testing before return to service
Before the pump goes back on the production line, it should pass a hand-rotation check, a no-load run-up while monitoring temperature and current, and finally a vacuum performance test with its backing pump. Only a pump that reaches its specified ultimate pressure and pumping speed, at normal temperature and noise levels, should be signed off.
Repair or Replace? How to Decide
Not every faulty Roots pump deserves a rebuild. Repair makes economic sense when the damage is limited to bearings, seals, gears, or dirty chambers, and when the rotors and housing bores are still within tolerance. Replacement becomes the better option when rotors have collided and are heavily scored, when the housing bore is worn out of round, or when the same pump has failed repeatedly for the same underlying process reason.
A practical rule used by many maintenance teams: if a professional repair costs more than half the price of a new pump and the unit is already well into its service life, put the budget toward a replacement. When in doubt, send the pump — or at least the measurements and photos — to the manufacturer for an honest assessment.
Preventing the Next Repair
Most Roots pump repairs trace back to a handful of preventable causes. Install the pump precisely level and make sure connecting pipes impose no strain on the casing. Respect the permissible switch-on pressure: a classic Roots pump should only start once the backing pump has brought the system down to its allowed pressure range, unless the pump is protected by a bypass valve, a frequency converter, or a pressure sensor control — all of which guard against overload. Keep the pumped gas clean with an inlet dust filter, follow the oil change schedule, and investigate any change in noise or temperature the same day you notice it. A pump that gets this kind of attention rarely needs major repair at all.
Work with a Manufacturer That Knows the Pump Inside Out
Because clearance restoration and rotor geometry are so specific to each pump design, the original manufacturer is often the most reliable repair partner. InPowerVac — the vacuum equipment brand of Zhejiang Yingpa Electromechanical Co., Ltd, in the field since 2000 — designs and builds its own multi-stage, air-cooled, and gas-circulation cooled Roots pumps on production lines equipped with Mazak machining centers, dynamic balancing, and coordinate measuring inspection. As an experienced roots vacuum pump manufacturer, the company understands exactly what a worn pump needs, and supplies genuine vacuum pump spares — vanes, seals, filters, and oil — that keep rebuilt pumps running to specification.
Whether you are troubleshooting a noisy booster, planning a scheduled overhaul, or weighing repair against a new unit, starting the conversation with a manufacturer that both builds and services Roots pumps will save you time, guesswork, and unplanned downtime.
The Bottom Line
So, what is vacuum pump repair for Roots pumps? It is a disciplined process: diagnose the symptom, clean the chamber, measure and restore the critical clearances, replace worn bearings, gears, and seals, refill with the correct oil, and verify performance under test. Done properly, a repair restores a Roots pump to its original pumping speed and ultimate vacuum. Done poorly — or postponed until rotors collide — it becomes a replacement instead. Watch the warning signs, respect the maintenance schedule, and your Roots pump will repay you with years of reliable service.