Hey there! As a supplier of Rotary Vane Vacuum Pumps, I often get asked about how to replace the vanes in these pumps. It's a crucial maintenance task that can extend the life of your pump and ensure it runs at its best. So, let's dive right into it!
Why Replace the Vanes?
Before we get into the how - to, let's talk about why you'd want to replace the vanes in the first place. Over time, the vanes in a rotary vane vacuum pump wear out. This can happen due to normal use, friction, or exposure to contaminants in the air or the fluid being pumped. When the vanes wear, the pump's performance drops. You might notice a decrease in vacuum level, slower pumping speed, or increased noise. Replacing the vanes can restore the pump's efficiency and prevent further damage to the pump.
Tools You'll Need
To replace the vanes in a rotary vane vacuum pump, you'll need a few tools. Here's a basic list:
- A set of screwdrivers (both flat - head and Phillips - head)
- A socket wrench set
- A pair of pliers
- A clean cloth or rag
- A container to hold the old oil and parts
- Replacement vanes (make sure they're the right size and type for your pump)
- New pump oil
Step 1: Prepare the Pump
First things first, you need to shut down the pump and disconnect it from the power source. This is super important for your safety. Once it's off, let the pump cool down if it's been running. You don't want to burn yourself on a hot pump!
Next, you'll need to drain the old oil from the pump. Place the container under the oil drain plug and carefully remove the plug. Let the oil drain out completely. This old oil might be dirty and full of debris, so handle it with care. Once the oil is drained, replace the drain plug.
Step 2: Remove the Pump Cover
Now, it's time to get inside the pump. Use your screwdriver or socket wrench to remove the bolts or screws that hold the pump cover in place. Keep these bolts in a safe place so you don't lose them. Gently lift off the pump cover and set it aside. You'll now be able to see the internal components of the pump, including the rotor and the vanes.
Step 3: Remove the Old Vanes
The vanes are usually located in slots in the rotor. You can use a pair of pliers to carefully remove the old vanes. Be gentle because the rotor can be easily damaged. As you remove each vane, take a good look at it. You'll probably see signs of wear, like uneven edges or a thinner profile. This is why they need to be replaced.
Step 4: Clean the Rotor and Pump Interior
Once the old vanes are out, it's a good idea to clean the rotor and the inside of the pump. Use a clean cloth or rag to wipe away any dirt, debris, or old oil. You want to make sure there's no residue left before you install the new vanes. A clean environment will help the new vanes work better and last longer.
Step 5: Install the New Vanes
Now comes the exciting part - installing the new vanes. Carefully place each new vane into its slot in the rotor. Make sure they fit snugly but not too tightly. You should be able to move them slightly within the slot. If they're too tight, they might not move freely, which can cause problems with the pump's operation.
Step 6: Reassemble the Pump
After the new vanes are in place, it's time to put the pump back together. Carefully place the pump cover back on and align it with the holes for the bolts or screws. Use your screwdriver or socket wrench to tighten the bolts. Make sure they're tightened evenly so the cover sits flat and seals properly.
Step 7: Refill with Oil
Once the pump is reassembled, you need to refill it with new pump oil. Check your pump's manual for the correct type and amount of oil to use. Slowly pour the oil into the oil fill port until it reaches the recommended level. You can use a dipstick or a sight glass on the pump to check the oil level.
Step 8: Test the Pump
Finally, it's time to test the pump. Reconnect the pump to the power source and turn it on. Listen for any unusual noises. The pump should run smoothly and quietly. Check the vacuum level and the pumping speed to make sure they're back to normal. If everything seems okay, then you've successfully replaced the vanes in your rotary vane vacuum pump!


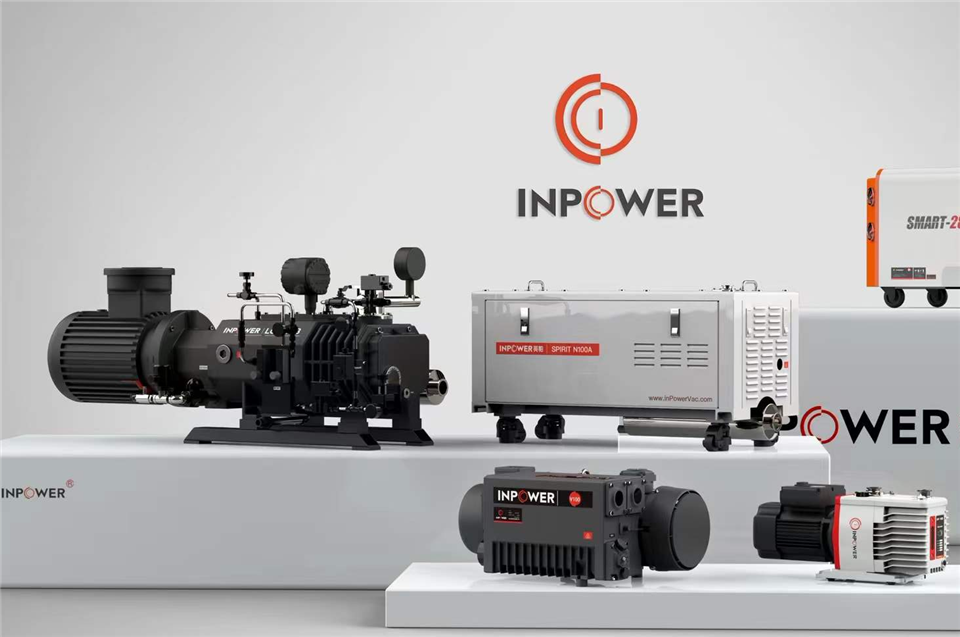
Our Product Range
At our company, we offer a wide range of Rotary Vane Vacuum Pumps to suit different needs. If you're looking for a compact option, check out our Mini Rotary Vane Pump. It's perfect for small - scale applications. For those working with lithium batteries, our Lithium Battery Vacuum Pump is a great choice. And if you need a pump for degassing processes, take a look at our Degassing Vacuum Pump.
Contact Us for Purchase
If you're interested in purchasing a new Rotary Vane Vacuum Pump or need replacement parts like vanes, don't hesitate to reach out. We're here to help you find the right product for your needs and provide you with excellent service. Contact us today to start the procurement process and get your hands on high - quality vacuum pumps.
References
- "Rotary Vane Vacuum Pump Maintenance Guide", Industry Standard Publications
- "Vacuum Technology Handbook", Technical Press Inc.