Hey there! As a supplier of auxiliary vacuum pumps, I'm stoked to share with you how to install an auxiliary vacuum pump. Whether you're a DIY enthusiast or a professional in the industry, this guide will walk you through the process step by step.
Before You Start
First things first, safety is key. Make sure you've got the right safety gear, like gloves and safety glasses. You don't want any accidents while you're working on this. Also, gather all the tools you'll need. You'll typically need a wrench set, a screwdriver, and maybe some sealant.
Next, take a good look at the auxiliary vacuum pump you've got. Check if there are any parts that look damaged or missing. It's always better to catch these issues early on. And of course, read the instruction manual that came with the pump. It might seem like a drag, but it's full of important info.
Choosing the Right Location
Picking the right spot to install the auxiliary vacuum pump is super important. You want a place that's well-ventilated. The pump can get hot while it's running, so good airflow will help keep it cool. Also, make sure the area is dry. Moisture can damage the pump and cause all sorts of problems.
The location should be close to the equipment that the pump will be serving. This will reduce the length of the piping, which can improve the pump's efficiency. And make sure the surface where you'll be mounting the pump is flat and stable. You don't want the pump vibrating around while it's working.
Mounting the Pump
Once you've found the perfect spot, it's time to mount the pump. Most auxiliary vacuum pumps come with mounting holes. Line up the pump with the holes on the mounting surface and use the appropriate bolts or screws to secure it. Make sure the pump is level. You can use a spirit level to check this. If the pump isn't level, it can cause uneven wear and tear on the parts.
Connecting the Piping
Now, let's talk about connecting the piping. You'll need to connect the inlet and outlet ports of the pump to the appropriate pipes. Use the right size of pipes and fittings. It's a good idea to use some sealant on the threads of the fittings to prevent any leaks. Tighten the fittings using a wrench, but don't over-tighten them. You don't want to crack the pipes or damage the fittings.
When connecting the pipes, try to keep the bends to a minimum. Sharp bends can restrict the flow of air and reduce the pump's performance. If you do need to make a bend, use a gentle curve.
Electrical Connections
The electrical connections are a crucial part of the installation. Before you start working on the electrical part, make sure the power is turned off. You don't want to get electrocuted!
Connect the pump to a suitable power source. Most auxiliary vacuum pumps require a specific voltage and amperage, so make sure you're using the right power supply. Follow the wiring diagram in the instruction manual carefully. Connect the wires to the appropriate terminals on the pump. Once you've made the connections, double-check them to make sure they're secure.


Testing the Pump
After you've completed all the installation steps, it's time to test the pump. Turn on the power and let the pump run for a few minutes. Listen for any strange noises. If you hear any rattling or grinding sounds, it could indicate a problem. Check for any leaks around the pipes and fittings. You can use a soapy water solution to check for leaks. If you see bubbles forming, there's a leak.
Also, monitor the pressure gauge on the pump. It should show the appropriate pressure for the application. If the pressure is too high or too low, you might need to adjust the pump or check for any blockages in the pipes.
Maintenance Tips
Once the pump is up and running, regular maintenance is essential to keep it in good condition. Check the oil level in the pump regularly. Most auxiliary vacuum pumps use oil to lubricate the moving parts. If the oil level is low, add the appropriate type of oil.
Clean the pump regularly to remove any dirt or debris. You can use a soft brush to clean the exterior of the pump. And don't forget to replace the filters in the pump according to the manufacturer's recommendations.
Our Product Range
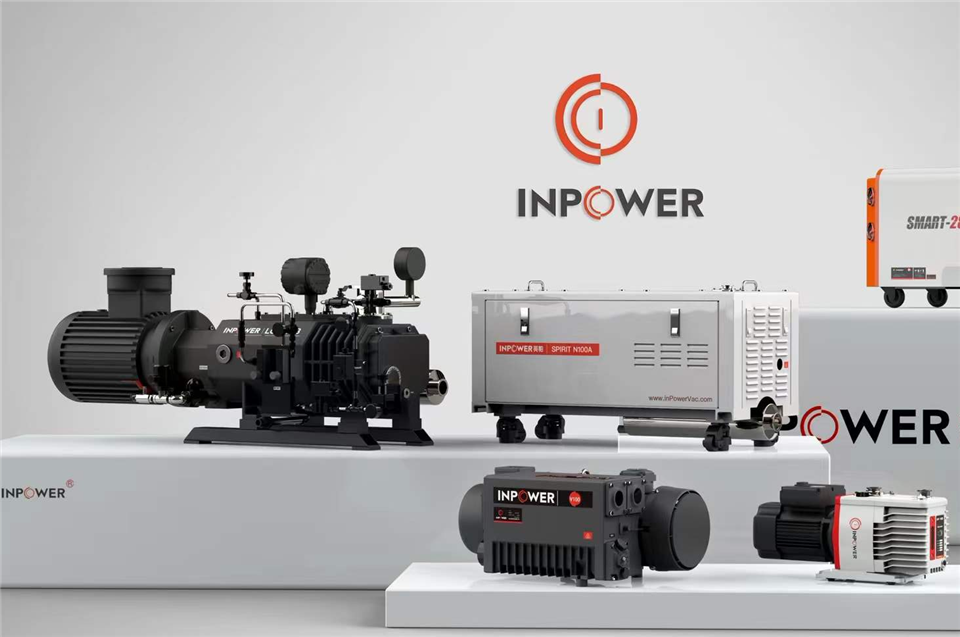
At our company, we offer a wide range of auxiliary vacuum pumps to meet your needs. We have the Big Pumping Roots Vacuum Pump, which is great for high-volume applications. It has a powerful pumping capacity and can handle tough jobs.
Our Mechanical Vacuum Booster System Pump is another popular option. It's designed to work in conjunction with other pumps to increase the overall vacuum level. It's a reliable and efficient choice for many industries.
And if you're looking for a pump that's easy to maintain and has good cooling capabilities, check out our Air Cooled Roots Vacuum Pump. It uses air cooling to keep the pump temperature in check, which can extend the pump's lifespan.
Contact Us for Purchase
If you're interested in purchasing an auxiliary vacuum pump or have any questions about the installation process, don't hesitate to get in touch with us. We have a team of experts who can help you choose the right pump for your application and provide you with all the support you need.
References
- Manufacturer's instruction manuals for auxiliary vacuum pumps
- Industry standards for vacuum pump installation and maintenance
So, that's it! I hope this guide has been helpful in showing you how to install an auxiliary vacuum pump. If you have any more questions, feel free to ask. Good luck with your installation!